This is the third (and last) part of the tutorial series How I work from home, in which I explain how to access your data remotely via different ways. In this part, I talk about the inevitable graphical access to your remote machine: the different approaches and their pros and cons.
Part 3 - Table of Contents
Remote graphical access
First option: don’t!
Redirecting all the graphical interface information (positions, polygons, actions…) through the network connection is usually more expensive than simply streaming the raw data to a local client, that’s why I recommend the sshfs approach commented in part 1 or even the remote analysis from part 2.
If you use sshfs, you can use your locally installed software to open and edit your remote files because they will believe that the files are actually in your computer.
Pros
- You don’t need to download the files beforehand (they will be downloaded eventually, but on demand).
- No graphical incompatibilities between systems. If the software runs with local files, it will run with
sshfs-mounted files. - No network lag between your actions and the calculations (file loading will take longer, though).
Cons
- If the files are very big and your connection is slow, the files can take a while to open.
- You have to install the needed software (viewer, editors, etc) in your home PC. If there are licenses involved, this can be tricky or even impossible.
Second option: through SSH
If you have set up your SSH connections as explained in part1, this is the easiest solution and does not require installing anything else (a priori).
If you want to be able to open graphical programs from your remote machine (like a 3D viewer), simply add the -X option to your ssh command or ForwardX11 yes in the adequate ~/.ssh/config Host entry.
At runtime:
$ ssh remote -XOr in ~/.ssh/config:
Host remote
    Hostname remote.example.org
    User robert
    ProxyJump bianca@bastion.example.org:22522
    ForwardX11 yes
Then, once connected, try to launch a graphical interface, like gedit to test basic 2D interaction or glxgears for 3D renders.
If it does not work (empty DISPLAY, etc), please check the answers to this question in StackExchange for troubleshooting. If some parts of the interface do appear, but others don’t (especially 3D renderers), this is a problem with the GL libraries - they might not match between remote and local, etc. Tricky!
Pros
- If you are lucky, very easy to set up.
- No additional installations necessary.
Cons
- If the connection is slow, the graphical information can take a while to be rendered locally, so sometimes is faster to mount the data
sshfsand use a local program. - It it doesn’t work out of the box, a lot of moving parts must be set up. It might be the SSH server, an incompatibility between remote and local libraries…
Third option: through remote desktop protocols
If you really insist on having remote graphical access, though, there are more efficient approaches than straight X forwarding: remote desktop solutions. They will display your remote graphical environment (desktop and everything) in a dedicated window in your local machine.
They consist of a server that runs on the machine to be accessed (REMOTE) and a client that connects to the server from the machine we are sitting at (HOME). The server can apply advanced compression on the fly so it will normally feel more fluent than -X. There several protocols to do that, like VNC, RDP, NX or SPICE.
Servers
- VNC-based: There are tons. The recommended option is usually
tigervnc.- NX-based: NoMachine, propietary but free for personal use.
- RDP-based: Developed by Microsoft, so you will use it to connect to Windows remote machines. In Linux, you can try
xrdp, but VNC is better supported anyway.- Propietary ones, like TeamViewer.
I personally use NoMachine because it feels more fluent in my setup, but YMMV.
Clients
Simply put: use Remmina to set up the connection. It supports almost every protocol and server, thanks to its plugin system. But if it does not work in your system, try with the official client of the chosen server.
Pros
- Better performance.
- Feels like sitting at the remote desktop if there is no network lag.
Cons
- Elevated privileges needed for installation.
- If the connection is slow, it will feel jumpy.
You will have to ask your IT admin to install the server in your remote computer if you don’t have superuser permissions.
How to connect to a remote desktop
General approach
Assuming the server has been properly set up in the REMOTE computer, you only need to install Remmina in your local computer HOME:
# For Ubuntu
sudo apt install remmina
# For Arch Linux
sudo pacman -S remmina
Remmina provides a graphical interface to set everything up! You just need to provide the protocol that the remote server is using and its address and port. Even if REMOTE is behind a bastion, you can set up an SSH tunnel in the same configuration dialog.
NoMachine only
In some systems, Remmina will not work for some protocols (Wayland and NX, for example). So to access your NoMachine server in REMOTE you will have to use the official NoMachine client. Both are installed with the same package:
# Ubuntu
sudo apt install nomachine
# Arch Linux
yaourt -S nomachine
You can then open the client and create new connection using the New button in the top (if it is not already appearing automatically).
If you have direct access, it will be easy. For the REMOTE machine in part 1:
- Protocol:
NX - Host:
remote.example.org - Port:
4000 - User:
robert - Password:
********** - Don’t use a proxy
But if you have to jump through a bastion, you will need a port forwarding first. Let’s assume the same HOME -> BASTION -> REMOTE situation as in part 1.
                                          |
                                          |
[HOME] ---(ssh)---> [BASTION] ---(ssh)---> [REMOTE]
                                          |
                                          | firewall
Then, you create the tunnel:
$ ssh -J bianca@bastion.example.org:22522 robert@remote.example.org   -NfL 4003:localhost:4000
#        \________bastion jump__________/ \____remote server______/ new port__/           \_NoMachine server port
Take into account that you will need to create the tunnel everytime your
HOMEmachine reboots, so consider creating analiasor a~/.ssh/configentry.
With that command, the REMOTE NoMachine server is now available at localhost:4003. A new connection can appear now in the GUI automatically, but it doesn’t normally work. Just in case, create a new one named RemotePC over SSH or something like that with these parameters:
- Protocol:
NX - Host:
localhost - Port:
4003 - User:
robert - Password:
********** - Don’t use a proxy
Double click on the connection, enter the login details, click OK and…
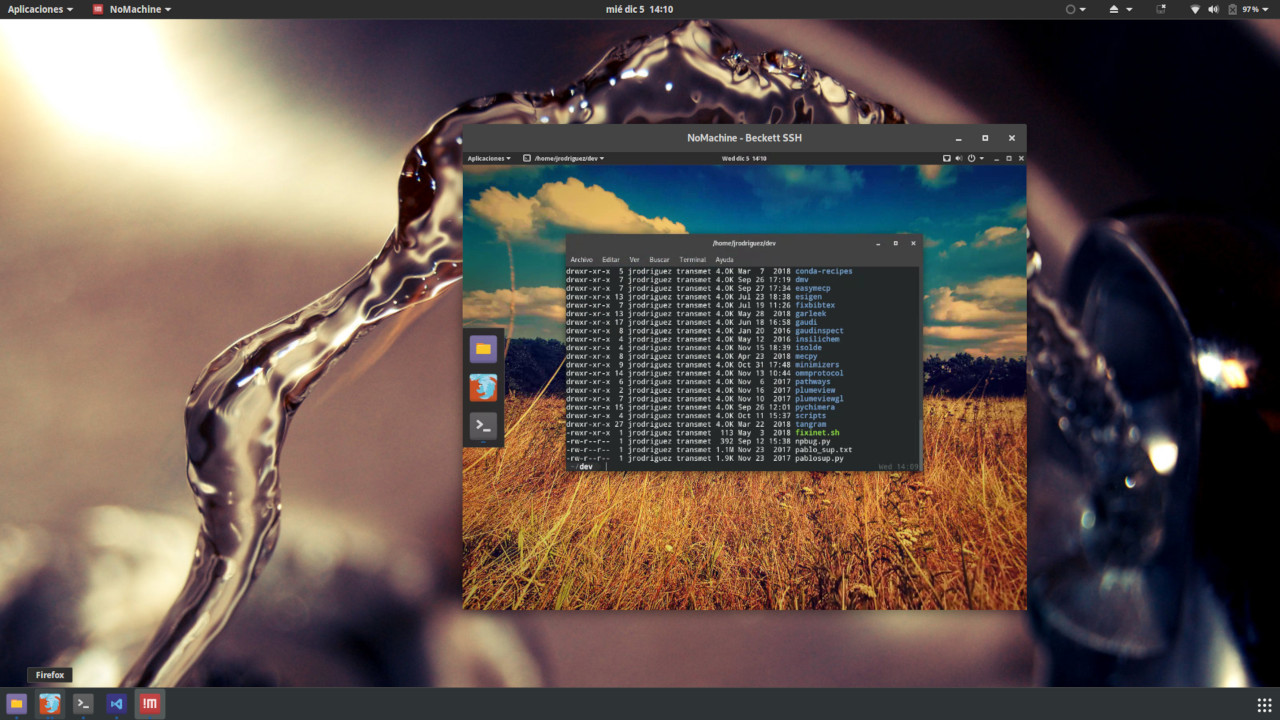
Voilà!
Wrapping up
With this third part I have covered all convenience methods to work with remote computers, even when sitting behind a bastion server. I hope that you find it useful and please ask doubts or request improvements if you want! I will be happy to answer by Twitter or a GitHub issue.
All parts